The process of replacing the coolant on a Chevrolet Niva
For proper operation of the engine, a coolant (coolant) is needed, which must change over time. The article describes how the Chevrolet Niva coolant is replaced, what is needed for this. In addition, there is a video that shows the process of filling and pumping coolant.
[ Hide ]
Replacement instructions
The procedure for replacing the coolant is not difficult, so even a novice motorist can perform it.
How much to pour?
According to the manufacturer's recommendations, antifreeze in a car should be changed after 40 thousand kilometers or after two years of operation. In this case, it is necessary to constantly monitor the condition of the coolant and check its level. If it has darkened or turned cinnamon, then it needs to be changed. If the level is below the prescribed level, water or antifreeze is added. Replacement may be required if the coolant filled into the car does not meet the density.
The required volume of liquid to be filled is 10 liters. It is desirable to fill in the coolant specified in the user manual.
Coolant
What will be needed?
To carry out the replacement, you will need a viewing hole, a lift or a flyover. The machine must be installed horizontally and secured so that it cannot roll during work. The front of the machine should be installed higher than the rear. The procedure is carried out only on a cold engine. To carry it out, you need to prepare the following tools and materials:
- ring key on "10";
- pliers;
- screwdriver
- funnel;
- container for draining the waste liquid;
- new antifreeze;
- clean rag.
A watering can can be made from a plastic bottle by cutting it in half. A canister or a plastic water bottle is suitable as a container.
Stages
Having installed the car on the inspection hole, they begin to replace the coolant.
- First open and fix the hood.
- The next step is to unscrew the cap on the expansion tank. It is advisable to perform the procedure on a cold machine.
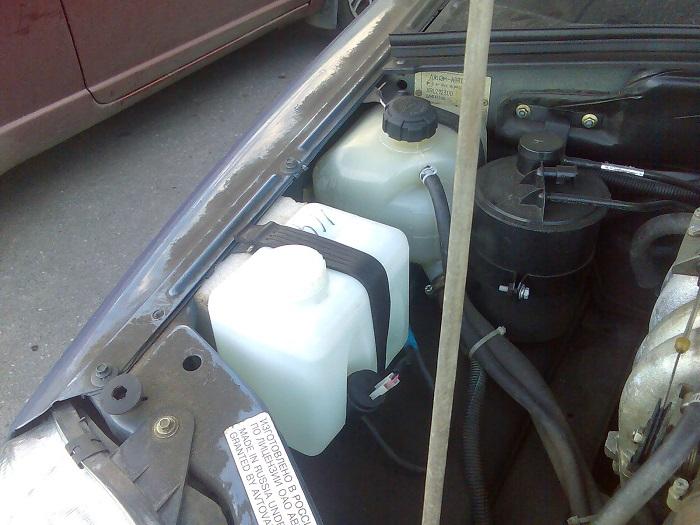 Expansion tank Niva Chevrolet
 If this is not possible, then the coolant temperature should not exceed 90 degrees. In order not to burn yourself with steam or hot liquid, you need to put rags on the engine and around the neck of the expansion tank. The lid must be unscrewed carefully. First you need to unscrew it a little so that hot air comes out and releases the tank from pressure, and then unscrew it completely.
- Now unscrew the plug on the drain hole and drain all the liquid. When the spent antifreeze is drained, screw the plug back into place.
- To prevent the formation of air locks in the cooling system, you need to disconnect the hose from the fitting of the throttle assembly. To do this, with a screwdriver or with the help of pliers, you need to loosen the mount on the clamp and move it back. Then disconnect the hose from the fitting of the throttle assembly.
- Before pouring coolant, it must be prepared. There are liquids ready for use, mainly antifreeze. There are antifreezes that require dilution with distilled water, usually a 50/50 ratio, unless otherwise indicated in the instructions.
- Next, you can proceed to filling the cooling system.

Coolant is poured into the expansion tank. As soon as it begins to flow out of the nozzle of the throttle assembly, put the hose on the nozzle and tighten the hose clamp. Then continue to fill in the antifreeze solution to the maximum mark in the expansion tank.
- When pouring an antifreeze solution, the radiator hoses should be pressed so that air pockets do not form.
- After the cooling system is filled, tighten the cap on the expansion tank.
- Next, you need to start the engine and wait for the electric fan to turn on. If this does not happen, it is necessary to check what air is coming from the heater. If it is warm, then the fan is faulty, cold - the reason is the presence of air pockets formed in the system. To get rid of them, you need to open the cap on the radiator, start the engine, after 5 minutes of operation, turn off the engine. Now close the radiator cap.
 Removing the radiator cap
 - When the second cooling cycle opens, the coolant level will drop significantly.
- You must wait until the motor has cooled down. Next, check the fluid level again. On a cold engine, it should be between the maximum and minimum, on a hot one, at the maximum. If necessary, top up to the required volume.


