Radiator 2106 with electric fan (part 1, installation)
You can argue about the advantages and minuses to infinity and for everyone here will be your truth.
Of the advantages:
- faster engine heating (especially in winter)
- Less garbage under the hood
- Less noise
- There will be no overheating
Minuses:
- Can break the sensor, fan.
To install, we need:
- radiator from 06 with hole under the sensor
- electric fan with casing
- Meters 5 wires of section 2.5mm and meters 5 sections 0.75 (not when there are no wires)
- Fan power sensor from VAZ 2106 "TM 108 (92-87)"
- Copper washer-sealer for the above sensor
- Relay 4x contact
- The stove control key from 2101 or you can take a button. (it is necessary 3 positions)
- Also need a fuse on the 30a and the case under it (I connected to the free fuse block)
- sealant
- Mom terminals, heat shrinking + I would take plugs 2x contact.
- Clamps, nozzles - see you need or not, I had a clamp on the studs - I replaced the modern ones.
By the way, the sensors are different (in brackets indicated the inclusion temperature - shutdown):
- TM 108-02 (87-82) - AZLK-2141;
- TM 108-10 (99-94) - VAZ-08, 09, VAZ-1111;
- TM 108 (92-87) - VAZ-03, 06, 07, GAZ-3102, 3110;
- TM 108 (82-67) - I saw once on the car, I did not find it.
In the following photo, bad, but it can be seen where the playground is the battery:
That was the radiator from 06 without a fan: 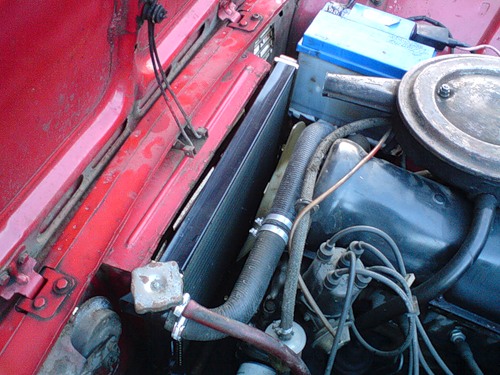
About the top nozzle - discuss later, do not be scared :)
Further screw the electric fan to the radiator. We install a sensor with a copper washer in it (I cut out of a piece of rubber, but it is better not to do it - the gum can fall apart from the temperature drops), we wake a sealant: 
1. Two-pin plug
2. Power-fan power sensor VAZ 2106
3. Electro-fan itself
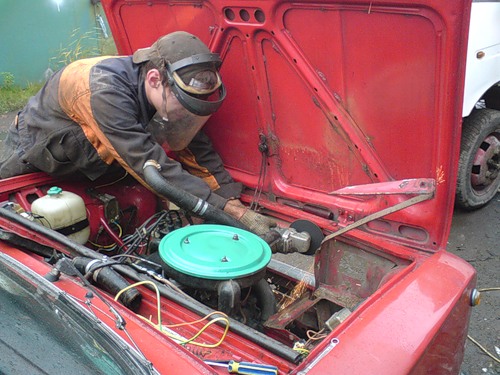
Need to work with a grinder. Drinks "TV" on the edge of stiffness from above and perpendicular to the edges: 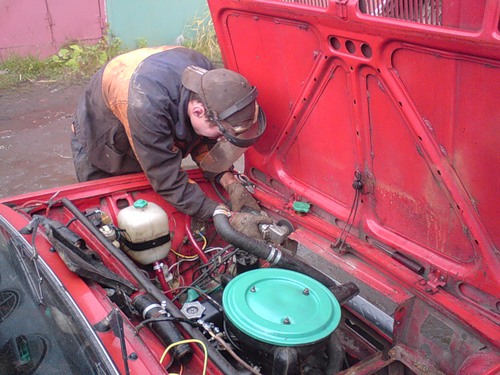
Further in again trying the radiator (for me to death, one "icy"). Where is curved - you can adjust or fill.
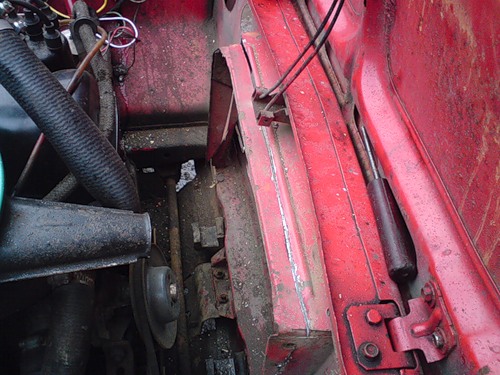
The radiator around the edges there are "veins", which he rests on to the remnants of the TV, celebrate the place where they are resting: 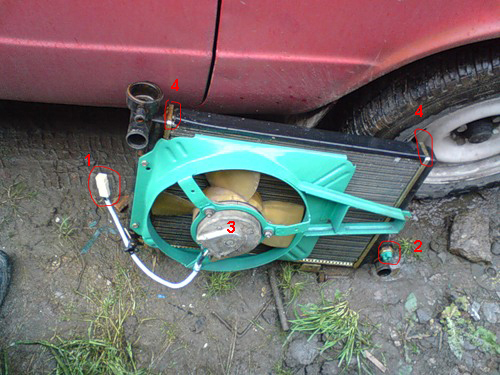
4. "Allowers"
Whatever to drown him a little deeper ahead, I made a "Paziki" under these veins in marked places. Enjoy the radiator several times if you need to do Pazikov: ![]()
So the radiator got into place:
Left 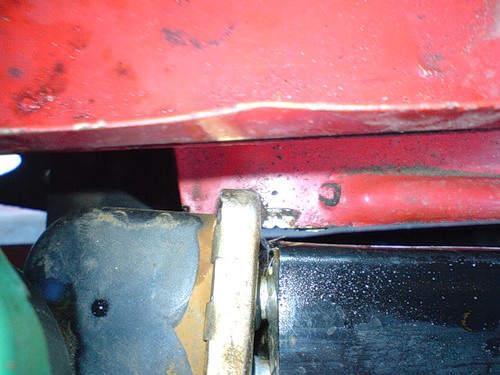
On right 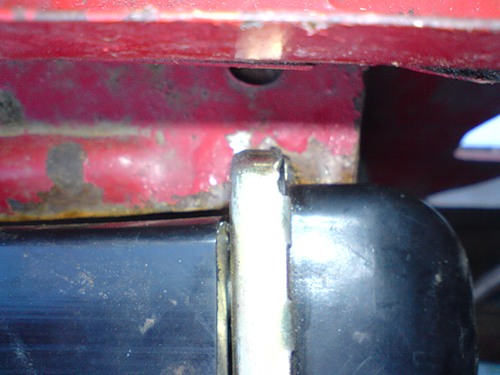
Next, we note the place for fastening the radiator, to the right of the radiator with its fastening stuffed in the front. At the radiator, the hole under the fastening is quite large on this hole should be taken closer to the front, so that he pressed tightly to the TV. I, from the beginning I did, and then I realized that the hole is large, so it turned out like this: 
It is not necessary to drill on the left, even though the standard fastening is not particularly suitable, but it did not prevent it from pulling it with a long bolt. The main thing is not to overdo it, Ishko on the radiator is plastic. 
Yes, I would have set some sleeve between the body and plastic ear to the fastening of the radiator, so that all 100% be sure that it is not breaking the ear of the radiator, attracting it with a bolt (approx. Ed.)
This is how the mount looks like: 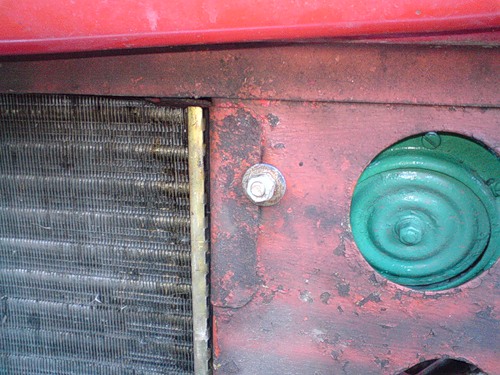
Next wear nozzles. Nizhny - I had to shorten the new one. And the top will increase the opposite. He took two tops: old and new; The grinder cut off the tube from the old radiator, cut into approximately in half the nozzles (measure it in place) and dressed them on this cut tube. Do not forget to miss the sealant and tighten the clamps. It turns out something like this: 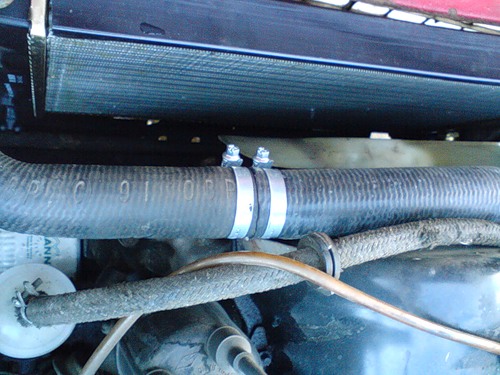
We screw the radiator (why not screwed right? Everything is simple: on not fixed - it is easier to wear nozzles): 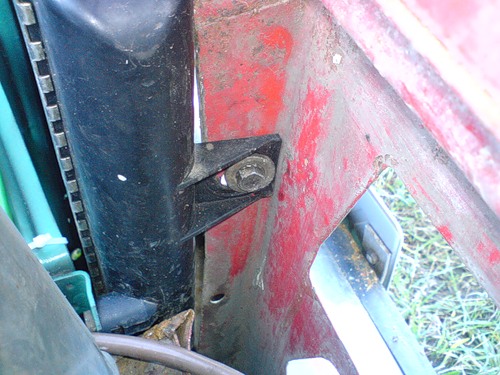
The next step is poured Tosol:
1) We are convinced that the tap of the stove is open.
2) We pour a little into the neck of Tosol, "jumper" upper nozzle.
3) When Tosol ceases to leave - plunge into the expansion tank, close the radiator cover, we start the engine. During work, we continue to "jump" the upper nozzle.
4) The wasting engine.
5) Carefully open the radiator lid, tosol, if necessary, closed.
Some more tips, notes, additions


